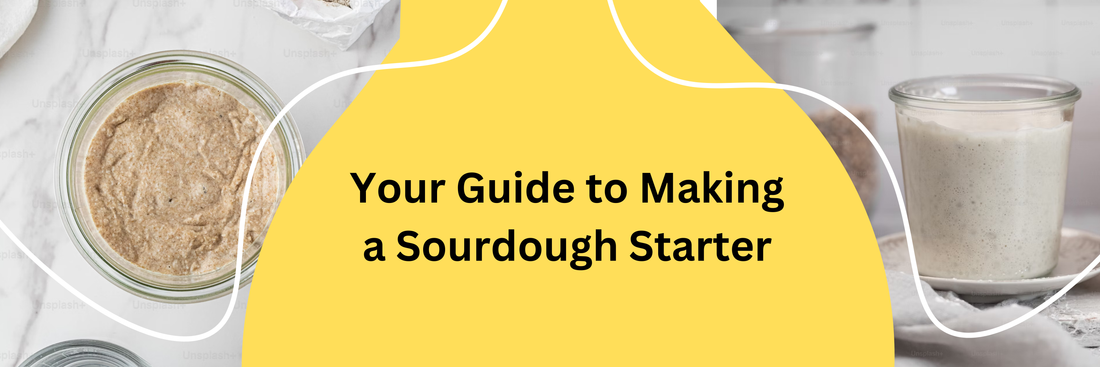
How to make a starter

Greetings, fellow baker!
Are you ready to embark on a delicious journey? Let’s start with the heart of sourdough bread - a lively little mixture called a starter.
Sourdough Starter Is…
A sourdough starter is a simple mixture of flour and water that captures wild yeast and beneficial bacteria from the environment. It’s the foundation of sourdough bread, providing natural leavening and giving the bread its unique, tangy flavor.
If you'd like to dive deeper into the basics, check out the expert guidance from Chef Alex Brady.
Want more? Take your baking to the next level - find the full course here!
Why is it important?
Unlike commercial yeast, a starter is completely natural and adapts to your environment. Over time, it develops its own characteristics, making every loaf unique.
What You’ll Need to Get Started
Essential Items:
- Kitchendom Sourdough Starter Jar: The 32 oz wide-mouth glass jar with a silicone lid is perfect for maintaining your starter.
- 👉 Buy the Sourdough Starter Jar or the complete Sourdough Starter Kit that includes the jar.
- A Stirring Tool: A spatula or spoon works well for mixing.
- 👉 If you're looking for a complete solution, the Kitchendom Sourdough Starter Kit has you covered! It includes the Sourdough Starter Jar and the EasyStir® spatula, engineered specifically for mixing all types of sourdough effectively, and mess-free. Check it out here.
- Flour: Whole-grain rye or all-purpose flour are great options. Whole-grain flour can speed up fermentation.
- Water: Use filtered or spring water to avoid chlorine, which can inhibit fermentation.

Optional, But Helpful:
- A kitchen scale for precise measurements.
- A rubber band or marker to track your starter’s growth.
Creating and Caring for Your Starter
Day 1: Starting the Process
- Mix 50g flour and 50g water in your jar.
- Stir thoroughly until there are no lumps.
- Mark the level with a rubber band or marker to track its growth.
- Leave the jar loosely covered at room temperature (21–24°C / 70–75°F) for 24 hours.

Tip: Use warm water to help kickstart the fermentation process.
Days 2–3: Feeding and Monitoring
- Each day, remove half of the starter and discard it.
- Add 50g fresh flour and 50g water to the jar.
- Stir well, mark the new level, and let it sit for another 24 hours.

Days 4–7: Strengthening the Starter
Continue the same feeding process (discarding half and adding 50g flour + 50g water). After a few days, your starter should become very active—bubbling and doubling in size within 4–6 hours of feeding.
When is it ready to use?
- It passes the float test: Drop a spoonful of your starter into water. If it floats, it’s ready!

- It has a pleasant, tangy aroma and lots of bubbles.

Tips for Maintaining Your Starter
- Regular Feeding:
- If baking frequently: Feed your starter every 12–24 hours.
- If baking occasionally: Store it in the fridge and feed it weekly.
-
Troubleshooting:
- If you see liquid on top (hooch), stir it back in or pour it off—it’s a sign your starter is hungry.
- No bubbles? Move the jar to a warmer spot or try whole-grain flour for the next feeding.
- Mold or a foul smell means it’s best to start over with a clean jar and fresh ingredients.
